How To Install LAMP Server On OpenSUSE Leap 42.1
LAMP is an archetypal model of web service solution stacks, named as an acronym of the names of its original four open-source components:
• the Linux operating system,
• the Apache HTTP Server,
• the MySQL relational database management system (RDBMS), and
• the PHP programming language.
The LAMP components are largely interchangeable and not limited to the original selection. As a solution stack, LAMP is suitable for building dynamic web sites and web applications.
In this tutorial,we will install the LAMP server on an OpenSUSE leap 42.1.
Step 1: Setting Up Apache
The first step is to first install the Web server which is Apache.The Apache HTTP Server Project is a collaborative software development effort aimed at creating a robust, commercial-grade, featureful, and freely-available source code implementation of an HTTP (Web) server and the most popular web server on the public Internet. It’s developed and maintained by an open community of developers under the auspices of the Apache Software Foundation. Released under the Apache License, Apache is open-source software. Visit Apache HTTP Server websites for more information.
Apache is available for download from the following link in a source code and compiled manually. But because of its popularity it is available in a binary form from the repositories of the major distributions for which OpenSUSE is not an exception.
On OpenSUSE leap 42.1 run the following command to install apache2 and its dependencies.
# zypper install apache2
Sample output:

Apache2 is successfully installed.
To be able to access Apache ,we need to start the daemon by running the following command
# systemctl start apache2
In this state the web server is only accessible as localhost. If you want to give access to it from a remote host, you have to open port http (=80) in the firewall. To do this, edit the /etc/sysconfig/SuSEfirewall2 file and change the line
FW_CONFIGURATION_EXT=””
into
FW_CONFIGURATION_EXT=”apache2″

After editing you have to restart the firewall using:
# systemctl restart SuSEfirewall2
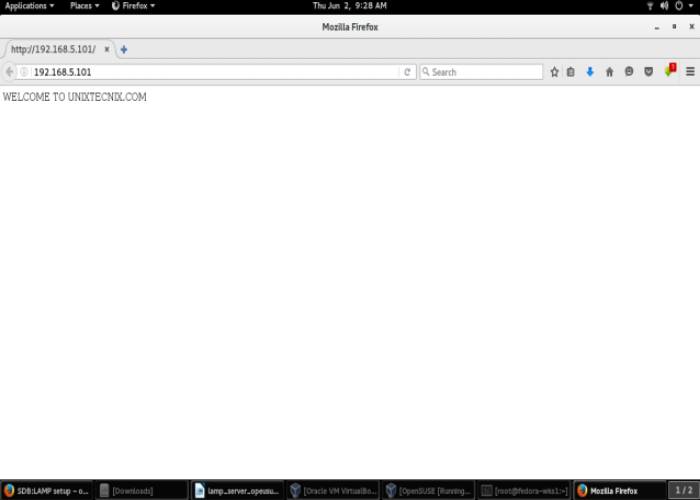
To check if you apache server works, use you favorite text editor and create the index.html file in the /srv/www/htdocs/ folder with the following content:
Welcome to unixtecnix.com
Now go to browser on your computer and enter the following URL to access Apache.
http://localhost or http://.This may be useful if you are accessing from a different computer.
Sample Output:

Our Apache user is successfully running but serving only HTML files.
Step 2 : Setting Up PHP
To enable the server server PHP files then we need to install PHP. PHP is a popular general-purpose scripting language that is especially suited to web development.
Fast, flexible and pragmatic, PHP powers everything from your blog to the most popular websites in the world. The current stable version is PHP7 but we will use PHP5 in our tutorial.
Install php5 using:
# zypper install php5 php5-mysql apache2-mod_php5
Enable mod-php by executing:
# a2enmod php5
Your are done, php5 is now installed.
Now that you have installed PHP5, you have to restart the apache2 Webserver:
#systemctl restart apache2
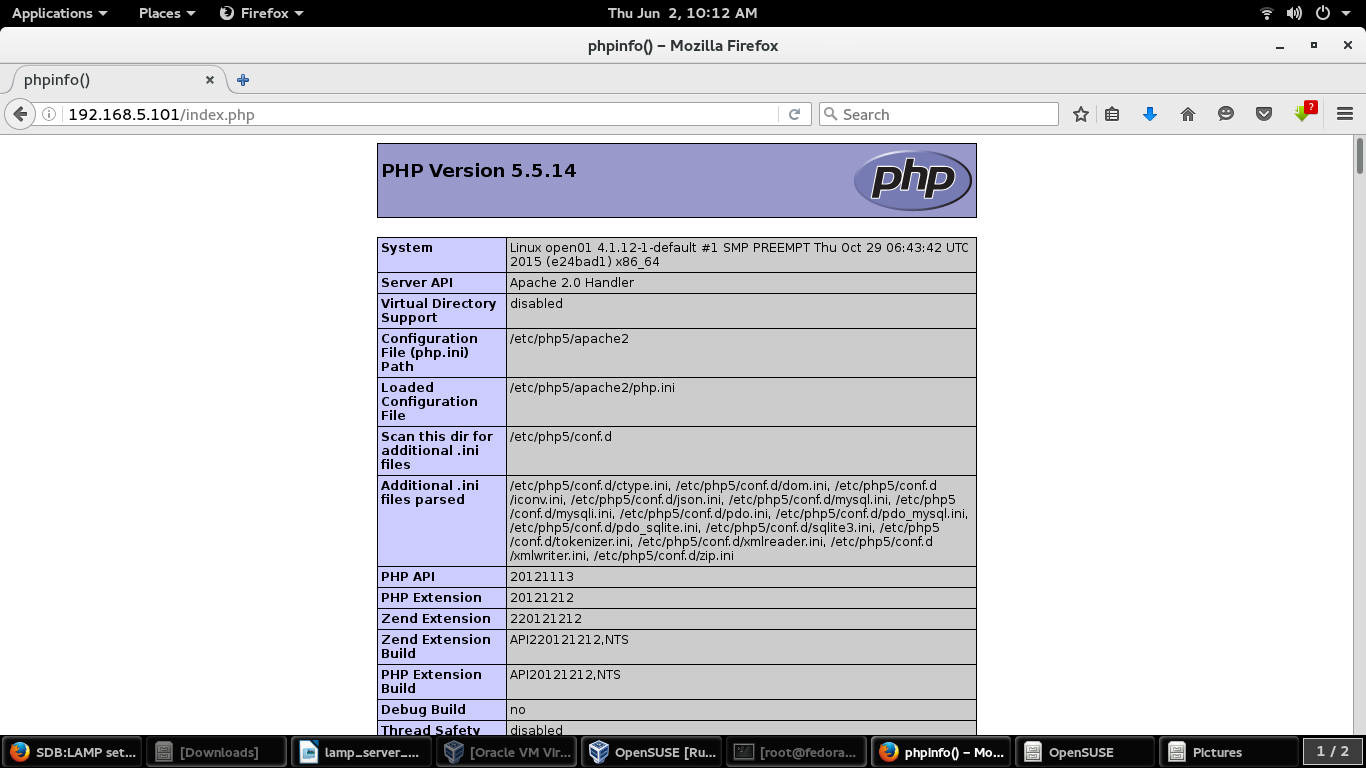
To verify that php5 is properly working, create a index.php file into the /srv/www/htdocs/ folder with the following content:
Now, point your browser to ‘localhost/index.php’ or ‘/index.php’ You should see a page containing a table with all php5 settings displayed.

Here we go. Our server is serving PHP files.
Ensure that the server will start at every boot:
# systemctl enable apache2
step 3: Setting up DBMS – MariaDB
Now the last component to install after installing Apache and PHP is a relational Database Management system. A relational database is included in LAMP because most web applications these days save their data in a relational database. OpenSUSE leap 42.1 comes with support for MariaDB as a replacement of the popular MySQL.
MariaDB is one of the most popular database servers in the world. It’s made by the original developers of MySQL and guaranteed to stay open source. Notable users include Wikipedia,Facebook and Google.
We need to install mariadb and mariadb-tools:
# zypper install mariadb mariadb-tools
The package mariadb-tools is necessary for administration
To start the MariaDB server, execute:
# systemctl start mysql
Ensure that the server will start at every boot:
# systemctl enable mysql
If you ever want to restart mysql, execute
#systemctl restart mysql
or if you want to stop it
#systemctl stop mysql
To configure the MariaDB server with improved security, please run the script
mysql_secure_installation
provided by openSUSE as part of the Mariadb binaries
This script will help you configure some few settings before working with the database system.
Sample Output:

Since this is a fresh installation,the root password is empty. Please note the root password here is different from the root password of your Linux system.
Press Enter to continue.
The next steps ask few questions that you are asked to answer either a Y for Yes and n for No.

MariaDB is successfully installed and configured. We can now log in into the server with mysql client by executing
# mysql -u root -p
and enter the password specified earlier for the root user.
Sample Output:

MariaDB is ready for use.
If you are not comfortable with using the command line interface for interacting with your Database,you can install some web management tools which you can use to administer the server from a browser. Tools such as phpMyAdmin,Adminer can be very helpful.
To install phpMyAdmin execute:
# zypper install phpMyAdmin
This also installs a number of needed php5 modules and restarts the apache2 server.
Edit the /etc/php5/apache2/php.ini file to activate the Multibytes String extension that is necessary for languages using more than one byte per character. Find the line:
;php_mbstring.dll
and uncomment it. Then restart apache
# systemctl restart apache2
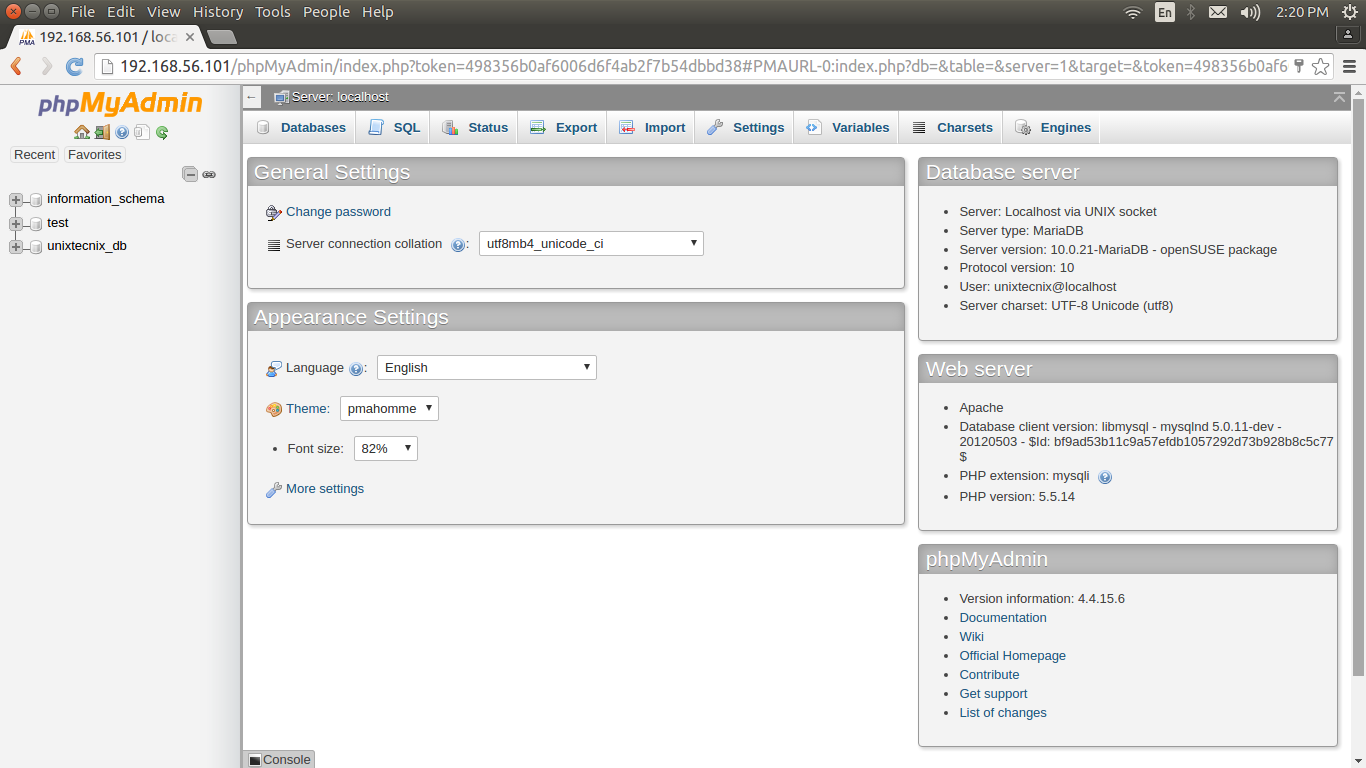
Now point your browser at http://localhost/phpMyAdmin/ or http://ip_address/phpMyAdmin/ and enter the mysql username and its password.
We are ready to administer our MariaDB server over the web using phpMyAdmin.

Enter User credentials to log on:

In another article we look at using Adminer to administer a MariaDB Database system or any other Relational Database system.
Thanks for the Audience.
References:
Wikipedia
OpenSUSE Documentation
MySQL Documentation
MariaDB Documentation
Apache HTTP Server Project
http://www.php.net/